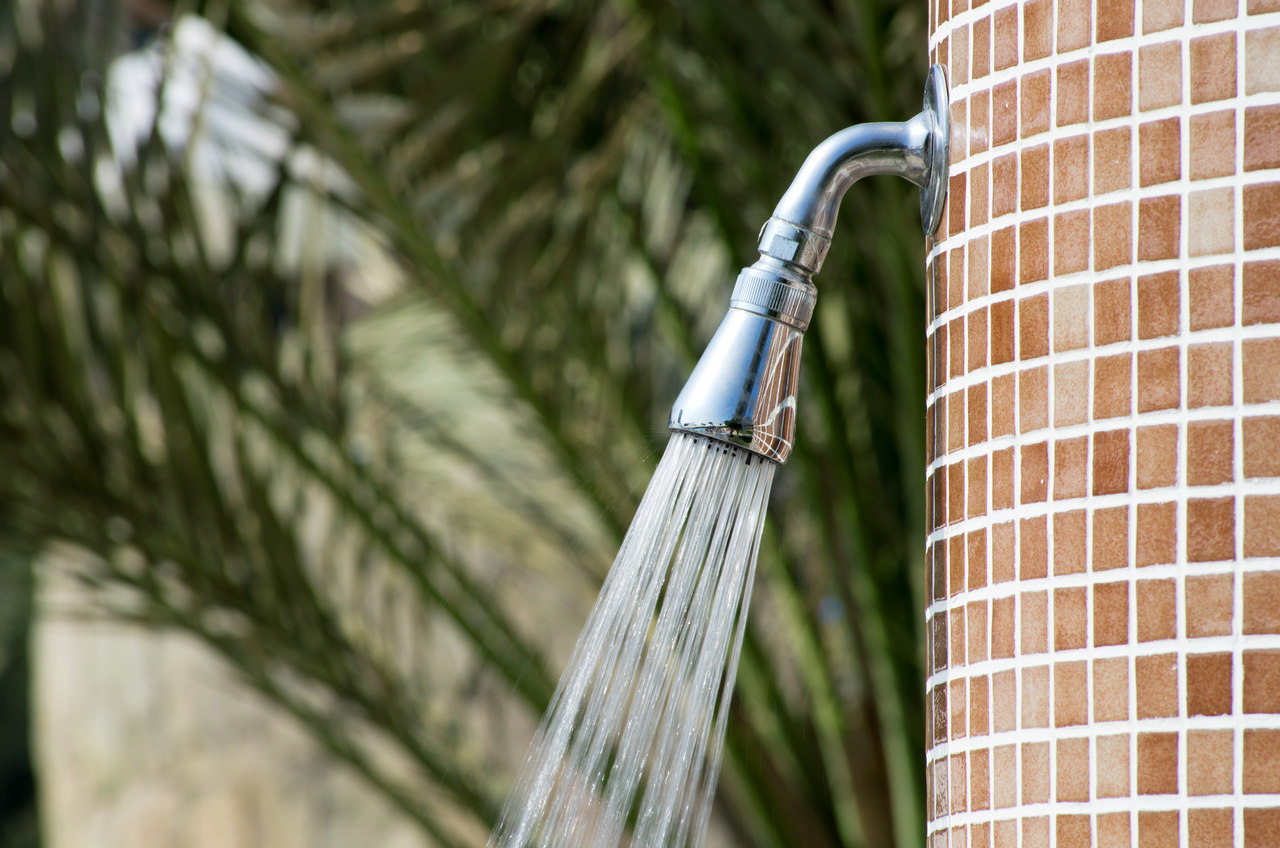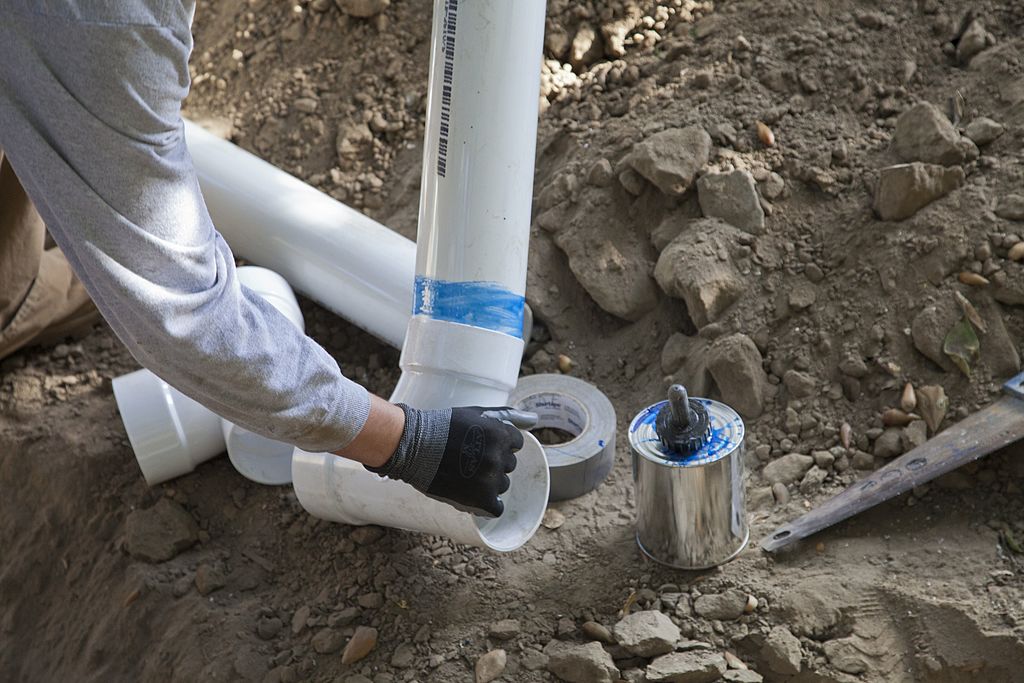
A garden shower is a luxury that anyone with a little free space can afford. Its installation is not difficult. With just a few parts and a bit of tinkering you can enjoy a cool shower on a summer day. With a few tips you can quickly set up a shower in your garden.
If you want to install a drain that connects to your home’s sewer system, you’ll need to do this work before building your shower tray, and the base will need to have a mesh filter and be properly sloped to direct water to the drain. In this case, it’s best to build the base out of concrete, which is easy to form and will last a long time outdoors

Unless you place your shower on flat, well-draining soil (preferably grass-covered) or on a patio, you’ll need to build a shower tray, as a stable, flat base is essential for safe and comfortable shower use.
Make the base out of concrete or another non-porous material if your shower has a drain. If not, there are two options that allow water to soak into the ground: cement block and wood or composite planks
>> See also: Shade zone. Pergolas and sun poles
If you’re going to outfit your shower with a shower enclosure or screen, it’s time to build it – especially the back wall so you can install the shower handset and valve. Build it out of wood, rigid vinyl, or other material strong enough to support the shower head and heating unit. If you’re placing an outdoor shower in front of a fence or next to a house, you can mount the valve and shower handset on siding, an existing fence post, or fence trim.
Enclosure construction is another opportunity to get creative. It can be a wood shed (preferably finished on the inside with a mold-resistant waterproof seal), an artful shed with siding on the outside and tile on the inside, or a simple railing made of bamboo. A shower door or curtain is optional, but a good idea if you want complete privacy and protection from cold air.
This part of the job is easy if you’re using a freestanding shower because all you have to do is place it on the ground where you want it. If you don’t plan to move it, you should stabilize it. Drive a metal post or rebar into the ground with a hammer and attach the shower riser to it with cable ties.
When installing the outdoor shower valve and handset, attach the valve, riser and shower handset to the back wall with copper pipe clamps. If you want the riser to be hidden, mount it to the back of the wall, then drill holes for the valve and shower arm.
When installing a freestanding shower with a hose inlet, simply screw the garden hose to the faucet and the other end to the shower. Turn off the water at the tap and leave it on so you can control the flow of water from the handset. If you’re using a solar shower, the heating tank will need to fill up and remain in full sunlight for several hours before the water is hot enough to take a bath.
If you install a tankless water heater nearby to power your shower, connect the water heater’s outputs to the shower valve inlets using PEX tubing. Screw or solder appropriate PEX connectors, such as female threaded adapters, to the outlets and inlets. Cut the PEX tubing to the appropriate length with a pipe cutter, push the ends onto the connectors and crimp with a crimping tool. The inlet of a tankless water heater is usually a male or female pipe thread and a garden hose can be connected to it with a pipe adapter.